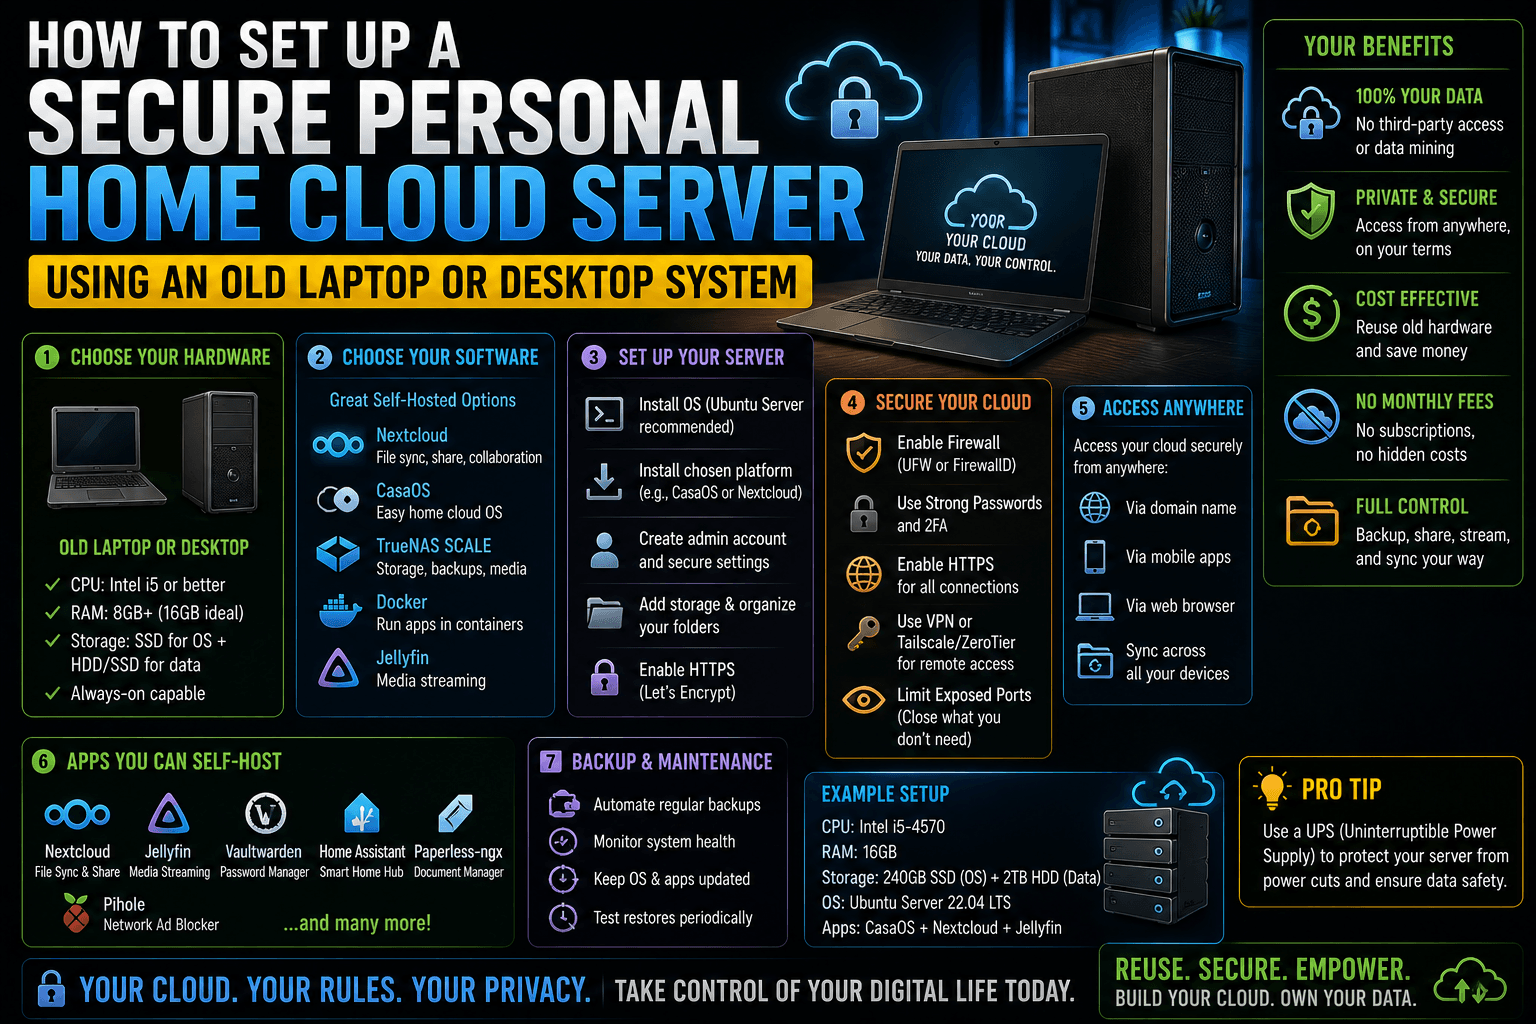
Repurposing an old laptop or desktop into a personal home cloud server is an excellent project. It breathes new life into aging hardware and keeps your private data out of commercial data centers.
An old laptop makes a particularly great home server because it features a built-in Uninterruptible Power Supply (the battery), an integrated screen/keyboard for local troubleshooting, and draws very little idle electricity.
This blueprint walks you through setting up a headless, containerized, secure home cloud architecture utilizing Ubuntu Server, Docker, and Tailscale.
1. Prerequisites and Structural Decisions
Before wiping your machine, make sure you have the following ready:
- A Bootable USB Drive: At least 8GB, flashed with the latest Ubuntu Server LTS (Long-Term Support) ISO using a tool like Rufus or Ventoy.
- A Hardwired Connection: Connect the server machine directly to your router via an Ethernet cable. Wi-Fi can drop, handles high throughput poorly, and adds configuration headaches.
- The Power Settings Trap (Laptops Only): Linux will automatically put a laptop to sleep when the lid is closed. We will fix this right after installation.
2. Installing the Base Operating System
Boot your old system from the USB drive and proceed through the Ubuntu Server installation menu. Most default options are fine, but keep an eye out for these critical configuration windows:
| Installation Stage | Correct Action |
|---|---|
| Disk Partitioning | Select Use an entire disk. Uncheck the option for “Set up this disk as an LVM logical volume” unless you have a specific need for dynamic drive pooling. |
| Profile Setup | Create a strong local username and password. Do not use generic names like admin or root. |
| SSH Setup | Check the box to install OpenSSH Server. This allows you to manage the server remotely without plugging in a keyboard or monitor again. |
| Featured Snaps | Skip everything here. We will install Docker cleanly from the official repository via the command line. |
Once the installation finishes, remove the USB drive, reboot, and log in locally one final time.
3. Initial Server Hardening & Configuration
From this point forward, you can disconnect your monitor and keyboard. Uncover your server’s local IP address (using the command ip a) and log in from your everyday computer using your terminal:
Bash
ssh username@your_server_ip
Fix the Laptop Lid Close Sleep Issue
If your server is an old laptop, open the login manager configuration file:
Bash
sudo nano /etc/systemd/logind.conf
Find the following lines, and remove the # symbol in front of them to uncomment, and change their values to ignore:
Plaintext
HandleLidSwitch=ignore
HandleLidSwitchExternalPower=ignore
HandleLidSwitchDocked=ignore
Save and exit (Ctrl+O, Enter, Ctrl+X), then restart the service:
Bash
sudo systemctl restart systemd-logind
Turn On the Firewall (UFW)
Secure your machine locally by locking down open ports:
Bash
sudo ufw default deny incoming
sudo ufw default allow outgoing
sudo ufw allow ssh
sudo ufw enable
4. Deploying the Docker Infrastructure
Docker isolates your cloud applications (like file storage, password managers, or media centers) into individual containers. This prevents a vulnerability in one application from compromising your entire server.
Run the official script to install Docker and Docker Compose simultaneously:
Bash
curl -fsSL https://get.get.docker.com | sh
Add your user account to the Docker group so you don’t have to type sudo before every single command:
Bash
sudo usermod -aG docker ${USER}
Log out of your SSH session (exit) and log back in for this group change to take effect.
5. The Remote Access Engine: Tailscale (No Port Forwarding)
Historically, accessing a home server from outside your house meant logging into your home router, setting up a static IP, and running Port Forwarding. Opening ports directly to the public internet exposes your server to malicious bots that constantly scan residential IP ranges for vulnerabilities.
To bypass this risk completely, use Tailscale. Tailscale sets up an encrypted WireGuard Mesh VPN. Your server and your phone/laptop connect to an isolated, private network overlay. You can access your home server from anywhere in the world without opening a single router port.
Install Tailscale on your server:
Bash
curl -fsSL https://tailscale.com/install.sh | sh
Start the service and generate your authentication link:
Bash
sudo tailscale up
Copy the URL displayed in the terminal into your browser, log in, and authorize your server. Download the Tailscale app on your everyday phone and laptop. Now, you can connect to your server using its new, dedicated Tailscale IP address (e.g., 100.x.x.x) from anywhere.
6. Blueprint: Deploying Your Personal Cloud (Nextcloud)
With Docker and Tailscale running, you can launch your self-hosted cloud apps. We will deploy Nextcloud (an open-source alternative to Google Drive or Dropbox) alongside a secure PostgreSQL database.
Create a dedicated directory structure for your deployments:
Bash
mkdir -p ~/homelab/nextcloud && cd ~/homelab/nextcloud
nano docker-compose.yml
Paste the following standardized stack layout into the file:
YAML
version: '3.8'

services:
  db:
    image: postgres:15-alpine
    container_name: nextcloud-db
    restart: always
    volumes:
      - db_data:/var/lib/postgresql/data
    environment:
      - POSTGRES_DB=nextcloud
      - POSTGRES_USER=nextcloud
      - POSTGRES_PASSWORD=YourUltraSecurePasswordHere

  app:
    image: nextcloud:stable-alpine
    container_name: nextcloud-app
    restart: always
    ports:
      - "8080:80"
    volumes:
      - nextcloud_data:/var/www/html
    environment:
      - POSTGRES_HOST=db
      - POSTGRES_DB=nextcloud
      - POSTGRES_USER=nextcloud
      - POSTGRES_PASSWORD=YourUltraSecurePasswordHere
    depends_on:
      - db

volumes:
  db_data:
  nextcloud_data:
Security Note: Replace
YourUltraSecurePasswordHerewith a random alphanumeric string before saving.
Launch your cloud server container stack in the background:
Bash
docker compose up -d
7. Operational Execution & Maintenance
Open a web browser on your laptop or phone (with your Tailscale client toggled on) and navigate to your server’s Tailscale IP address at port 8080: http://100.x.x.x:8080
You will be greeted by the Nextcloud setup wizard. Create your master admin account, and your personal home cloud is ready to use. Download the Nextcloud app on your phone to configure automatic photo and file backups.
Configure Unattended Security Upgrades
Automated OS Patches
- Configure Unattended Security Upgrades: Automated OS Patches.
Ensure your base Linux installation patches itself against software exploits automatically. Run sudo apt install unattended-upgrades to enable silent security package installation in the background.
Run Regular Container Image Updates
Clean container lifecycles
2. Run Regular Container Image Updates: Clean container lifecycles.
Keep your cloud services up to date. To update Nextcloud, simply navigate to your configuration folder and run: docker compose pull && docker compose up -d. This replaces the container image without altering your stored user data.
Establish an Offsite Backup Plan
The golden survival layer
3. Establish an Offsite Backup Plan: The golden survival layer.
A home cloud server is not a backup solution if all your files live on a single aging laptop drive. Install a tool like Restic or BorgBackup to compress, encrypt, and sync your data volume folder to an external hard drive or an encrypted cloud storage bucket like Backblaze B2.